For as long as I can remember, I’ve always loved muscle cars.
Camaro, Ford Mustang, Plymouth Barracuda, Dodge Challenger. Every time I see one of them on the street, I take pictures and stand there with stars in my eyes.
If I had to choose, I’d say the Dodge Challenger is my favorite.
There is something about it that feels unreasonable in the best way. With its long hood, wide stance and aggressive front, it has a real presence.
Last weekend, I thought: wouldn't it be cool to build a configurator for my dream car?
There is no business model behind this project. I built it for me: for the pleasure of customizing my favorite car as much as I want, exploring different variations, and sharing it with my family and friends who are somehow not yet tired of hearing me talk about muscle cars.
My long-term vision is to eventually have every model of the Dodge Challenger, from the 1970s to today, with the full set of customization options matching what was actually possible on each model.
Obviously, that's a lot to start with. So I scoped it down to one year, 2015, to get a proof of concept up and running.
Starting with research
The first decision I made was that the output needed to be as accurate as possible. I did not want to fake accuracy. So my first command to Codex 5.5 was to start with research. We created a source pack (trims, colors, visual differences, sources, reference images) and looked for official press kits, specifications PDFs, feature availability PDFs, and period imagery.
Some trims were strongly backed by official sources. Some details were only partially confirmed. Some things needed more research. Instead of pretending everything was equally true, I added source statuses like verified-primary, verified-secondary, partial-primary, and needs research. For example, some non-SRT trim details were backed by official Stellantis documents, while Hellcat visual details needed more caution. This sounds boring, but it was essential for laying a strong foundation. If a visual difference was not source-backed, it did not get treated as final. If a detail was not fully verified from a direct source, it stayed gated or marked as prototype.
The 2D prototype
The first version of my Dodge Challenger configurator was 2D. I had a side-view SVG of the car and I could change the paint color.
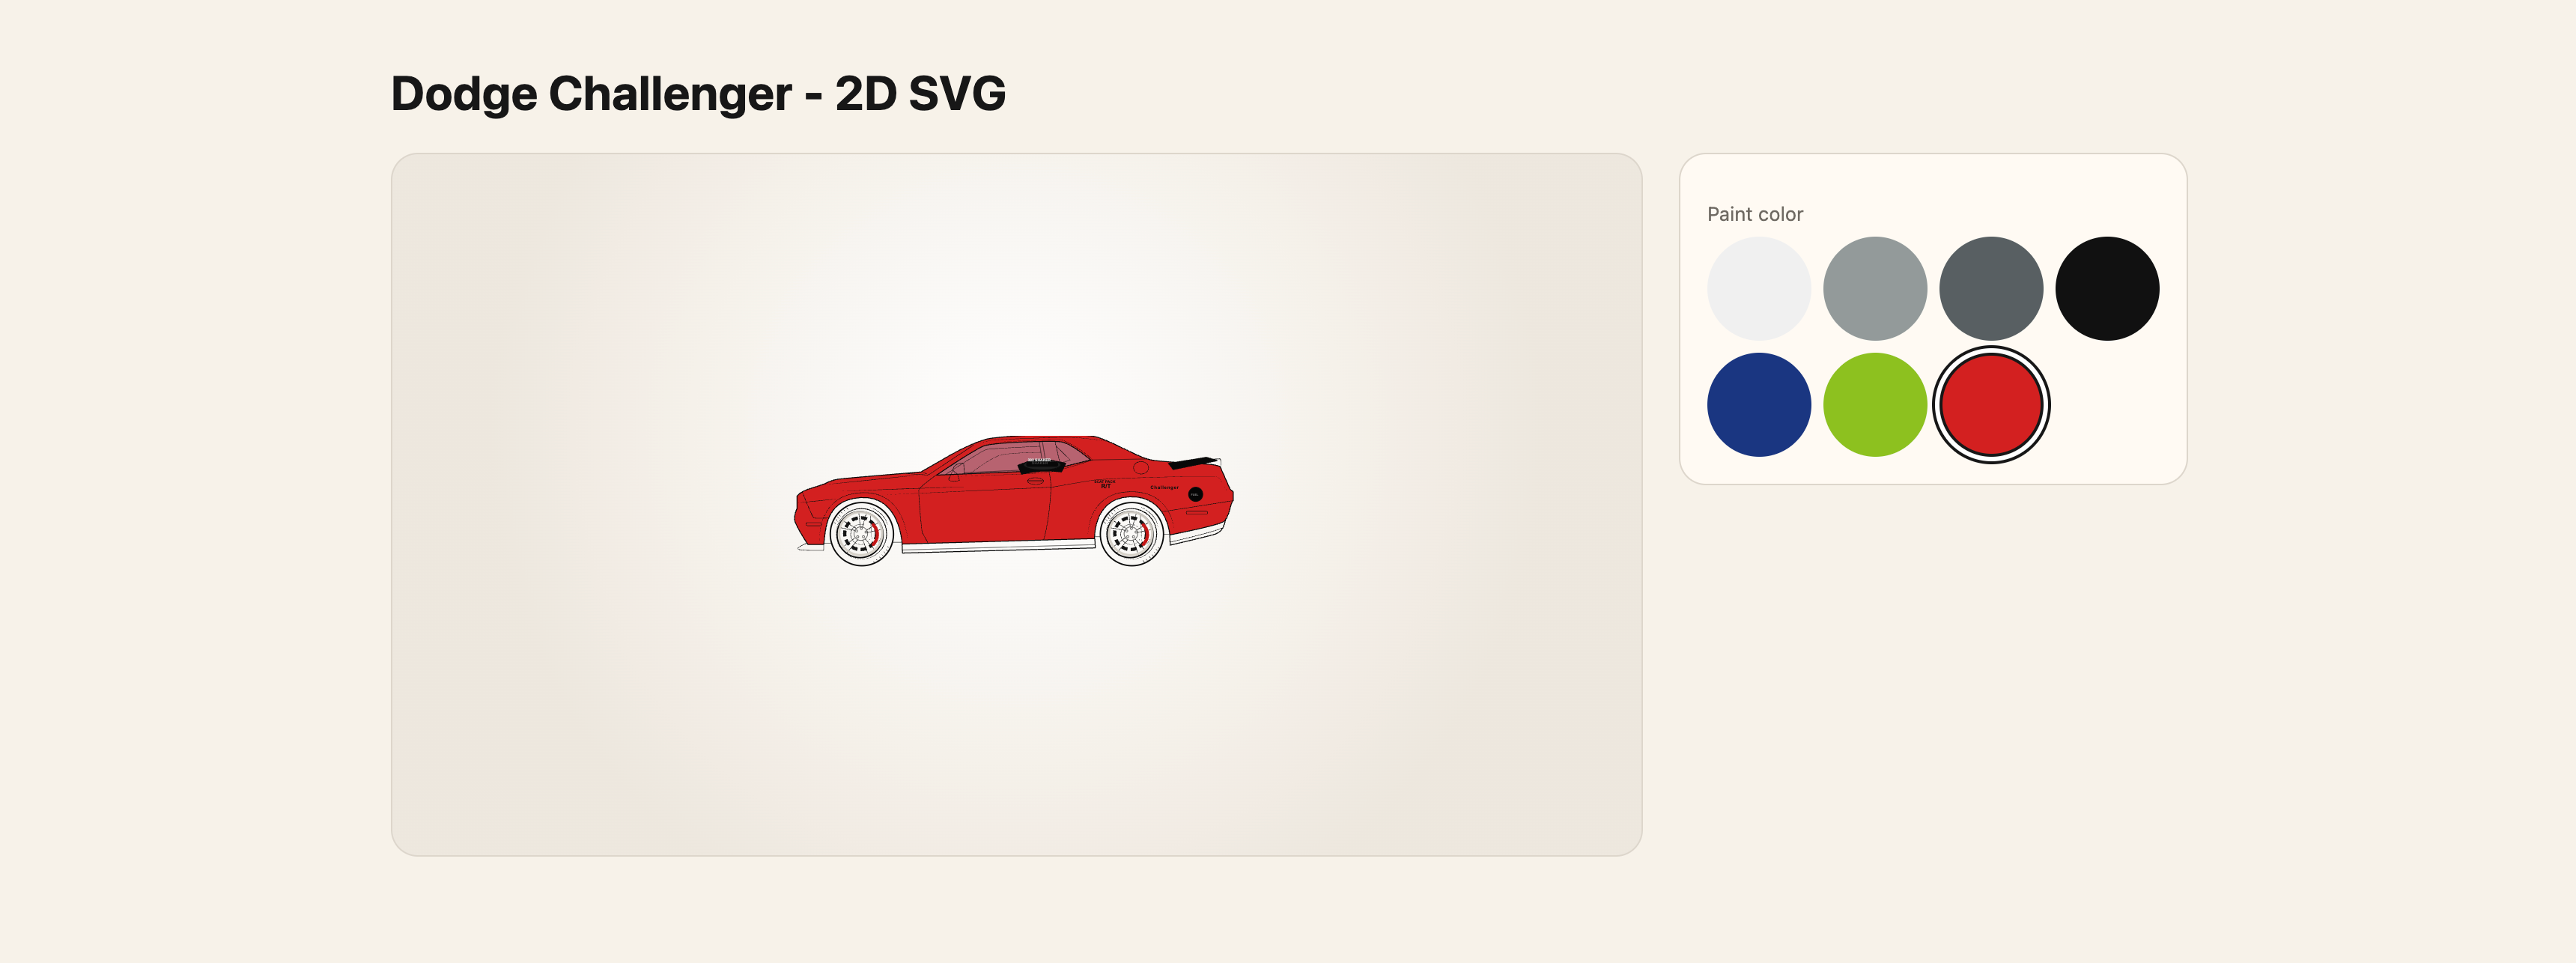
It was already fun, but I kept thinking: this is too flat.
A Dodge Challenger is all stance and volume. The hood matters. The front matters. The car needs to turn.
This really has to be 3D. So I entered what quickly became a 3D rabbit hole.
The 3D rabbit hole
To get a 3D model of the Dodge Challenger, my first instinct was to try open-source image-to-3D tools. I ran TripoSR using official reference images. Technically, it worked: it produced GLB files, i.e. files that contain the model geometry, materials, textures, animations, and scene data, and they loaded in the browser. However, the results were warped, blobby, fused meshes. It was super interesting as an experiment, but unusable as a configurator asset.
Then I tried Hunyuan3D. Locally, on my Mac, it could run as a smoke test, but useful settings were too slow and the output was not good enough. So I tested it on a cloud GPU. It was my first time renting a cloud GPU, which was exciting! I used RunPod and followed Codex 5.5’s recommendation on which GPU to rent: we went for an NVIDIA GeForce RTX 5090 and ran Hunyuan3D with CUDA, NVIDIA’s system for letting AI tools run heavy computation on the GPU.
The result was much closer. It was actually car-shaped and a lot better than TripoSR.
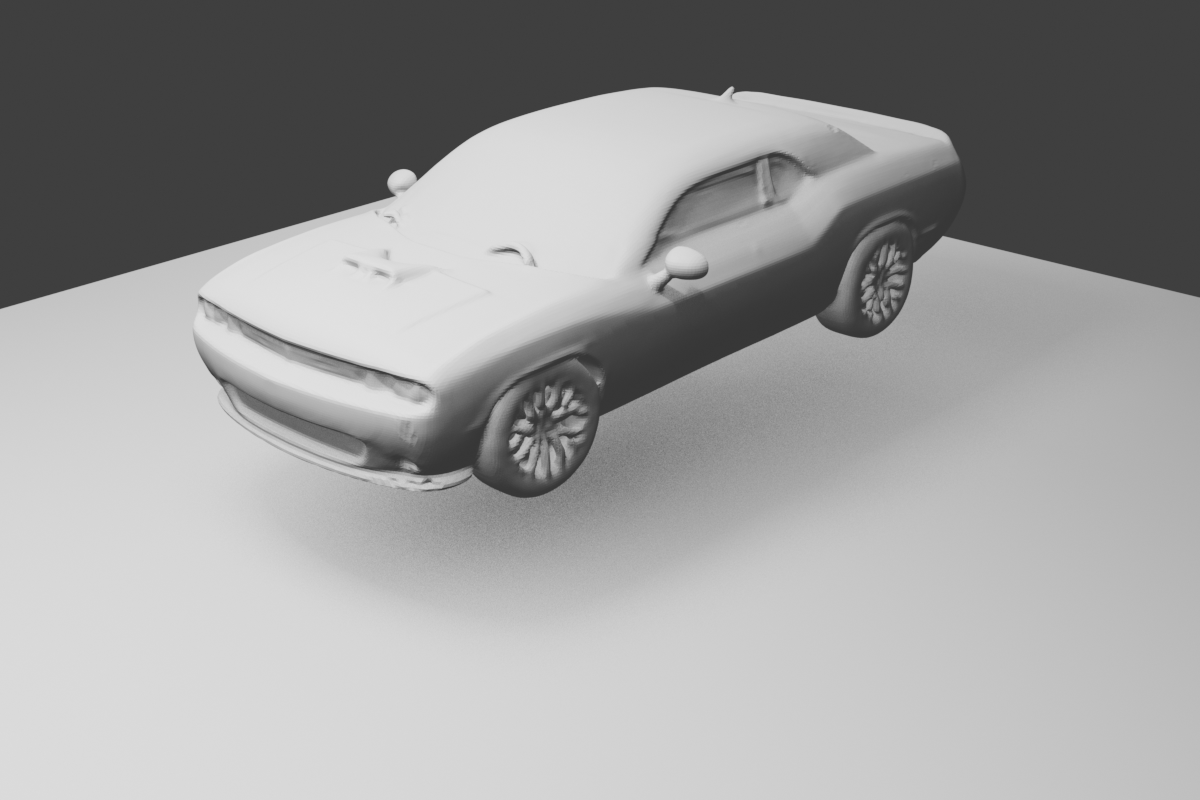
It looked promising, but still not close enough for a production-quality configurator.
During these experiments, I learned what a mesh is: the actual 3D surface of the object, made from vertices, edges, and faces. If you imagine a car model as a digital sculpture, the mesh is its shape. But for a configurator, shape is only part of the problem. A model can look beautiful in a render and still be almost impossible to use if the body, glass, wheels, lights, and details are all fused together. A beautiful fused mesh is still a dead end if you can't control it.
The real lesson: structure matters
That became the biggest lesson of the project: a configurator doesn't just need "a 3D model", it needs a structured asset.
Body paint has to be separate. Glass has to be separate. Wheels, calipers, lights, grille, badges, spoiler, stripes, and hoods all need to be targetable, swappable, hideable, or recolorable.
At this point, I started treating 3D as a pipeline problem: how do we turn a model into something structured, optimized, and controllable in the browser?
To understand what a usable 3D asset would require, I also ran a Blender experiment. With Codex, I wrote a Blender Python script that could run headlessly, meaning Blender opened in the background without the normal visual interface. The script exported a very rough car-shaped GLB made of boxes and cylinders. It looked terrible, but it had the thing I needed to test: named, separated parts. I loaded that GLB into a browser prototype and used the UI to target those parts and change their materials. That proved the browser pipeline could work if the model had the right structure.
Finding a usable model
Then I searched for real Dodge Challenger models across Sketchfab, CGTrader, 3DExport, 3D CAD Browser, and artist portfolios.
This time, I was not just judging how good they looked. I was checking for .blend files, GLB exports, named objects, material separation, and whether browser use was allowed. This part was more complicated than I expected. A marketplace license can allow use in an "incorporated product" but still be uncomfortable for a public browser app, because a GLB loaded in the browser can be extracted from DevTools. I didn't select some of the models under that type of license because I didn't want to take the risk of exposing an artist's work like that if they didn't want to.
Eventually, I found a Creative Commons model on Sketchfab: Dodge Challenger SRT Hellcat 2015 by preslav.petkov0606. Because it was Creative Commons Attribution, I could use it publicly as long as I credited the creator.
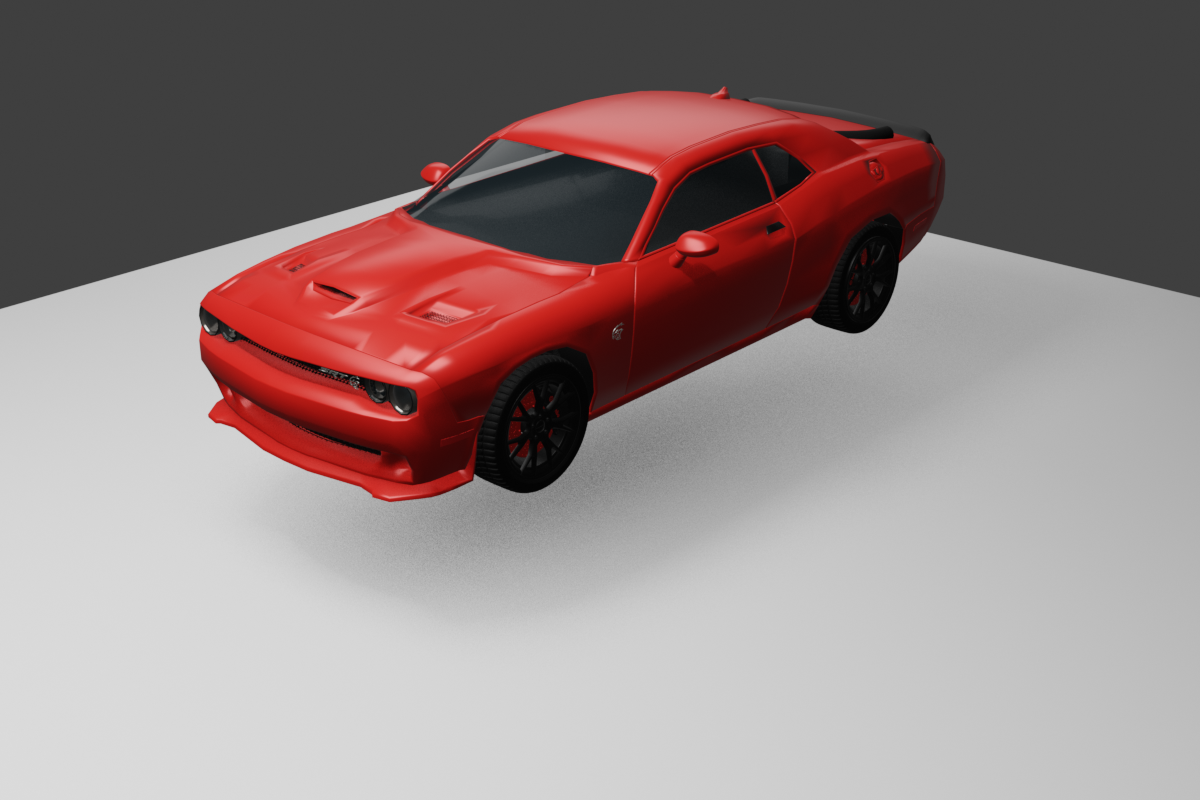
It was not perfect in the sense that it was missing some key parts such as the hood stripes, but it was more than enough for my proof of concept.
The original file was much too heavy for the web, so I used Blender scripts to inspect, rename, optimize, decimate, and export a lighter version. I brought it down to a web-friendly size, around 9 MB.
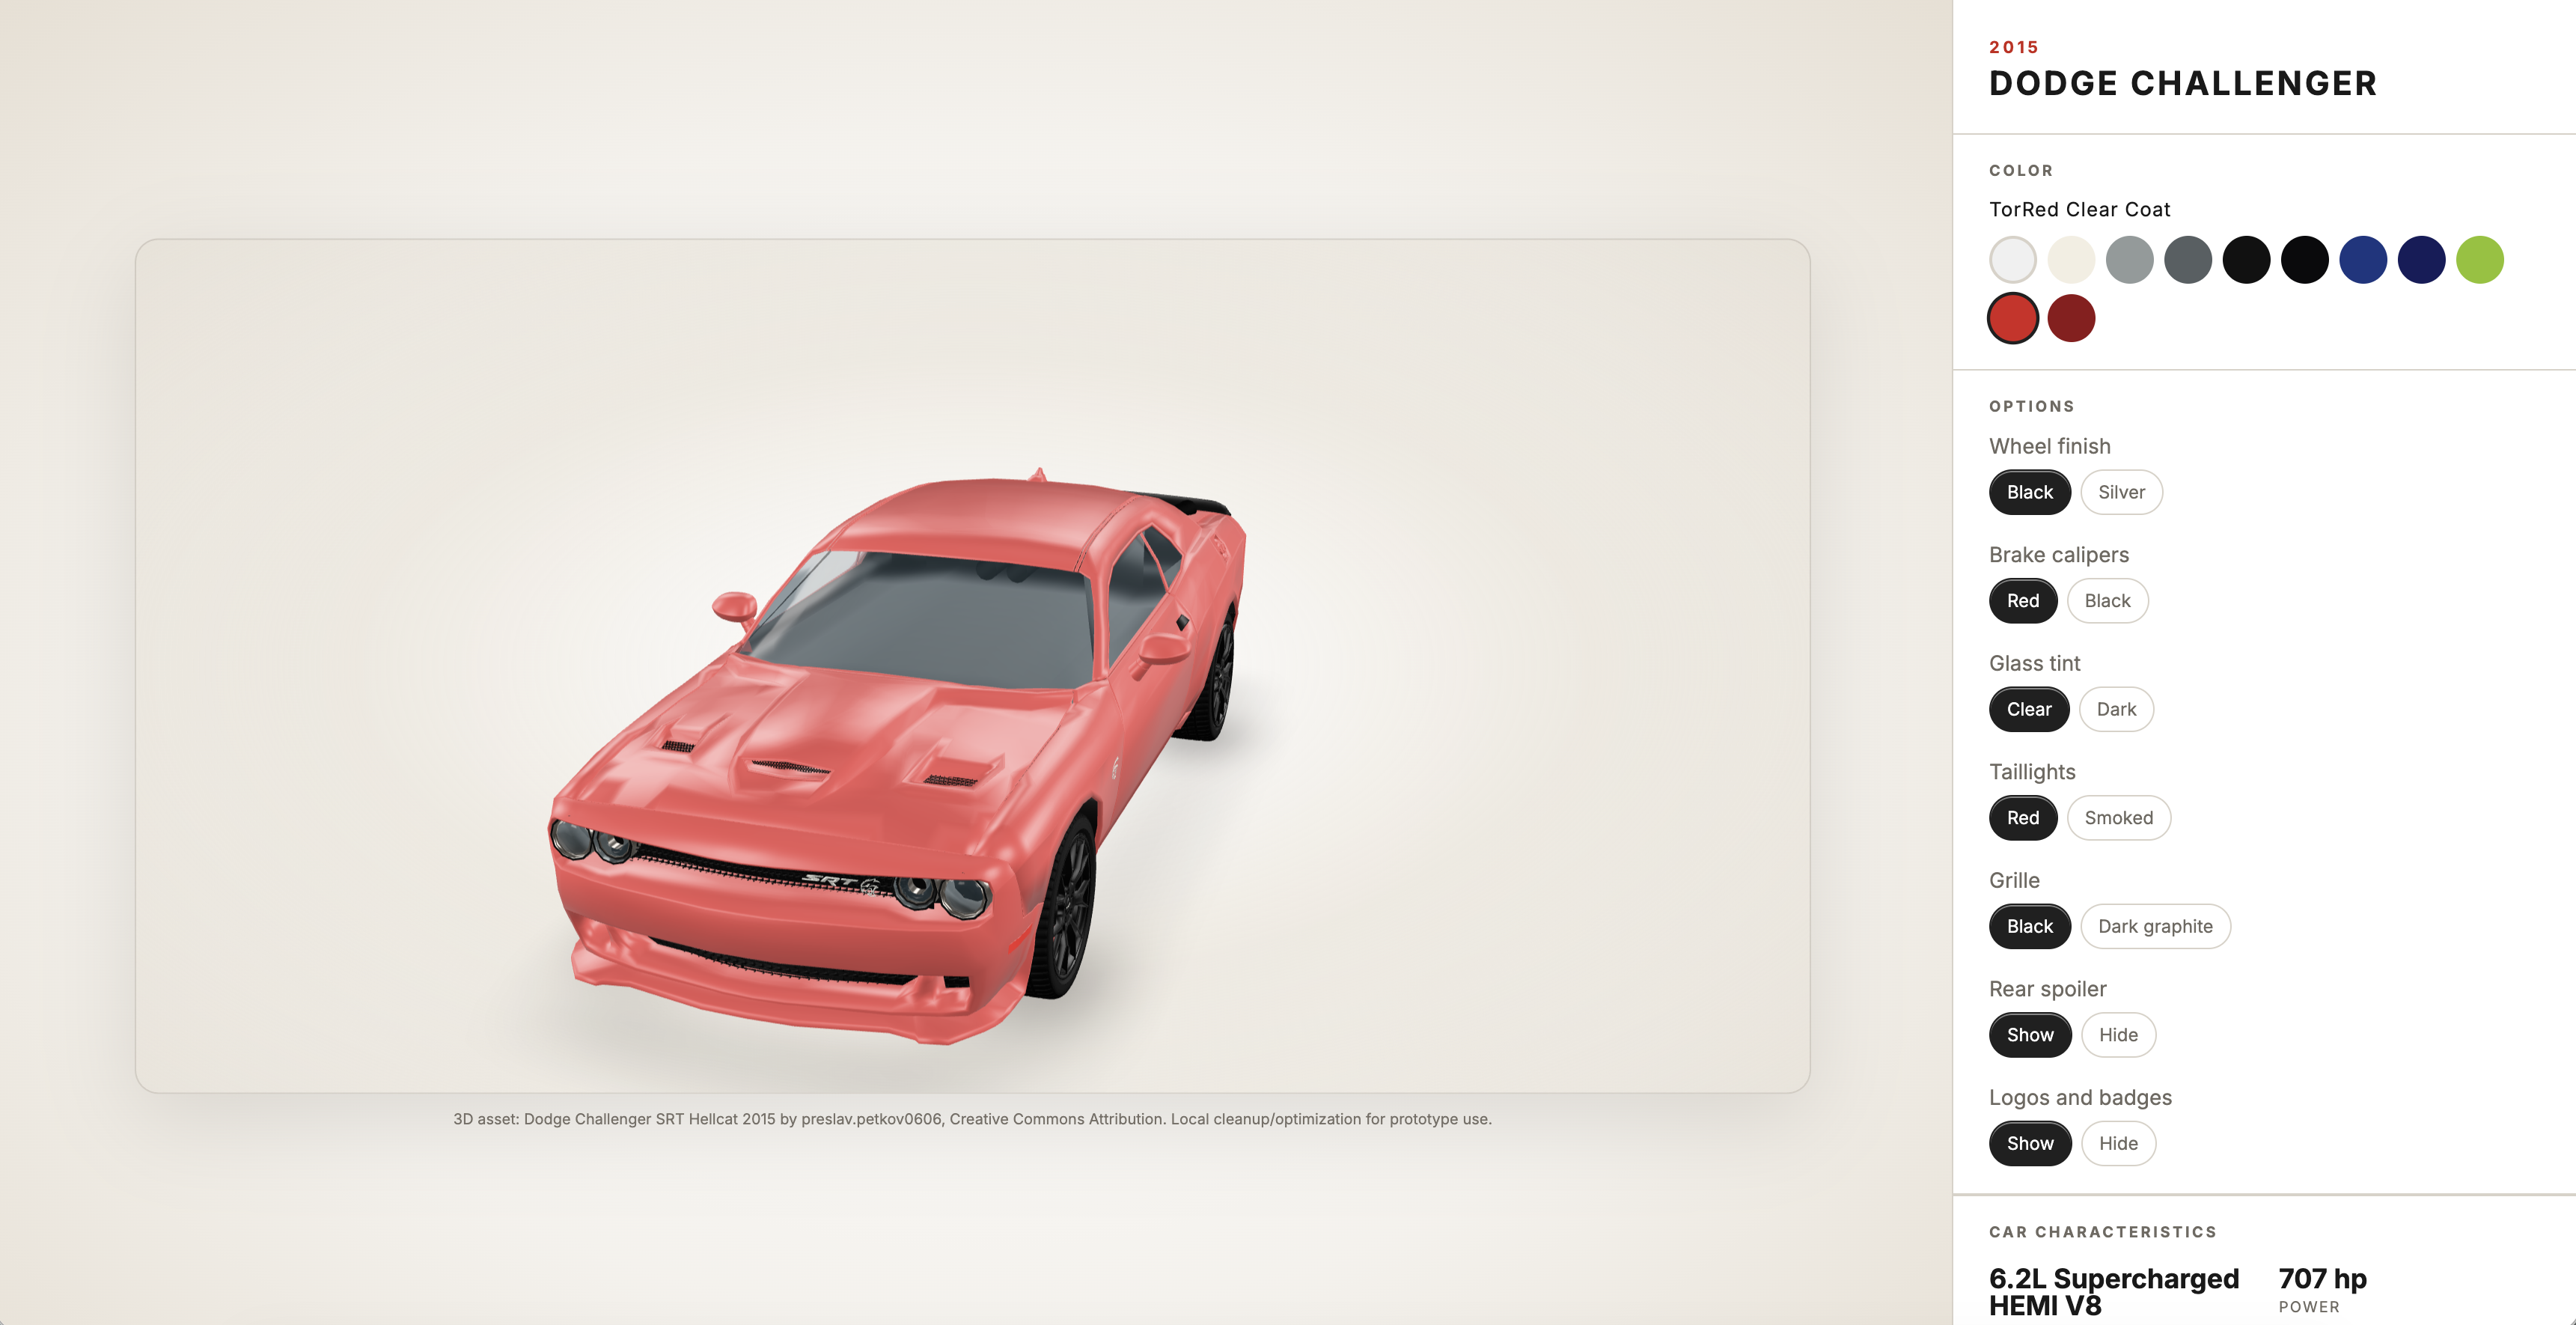
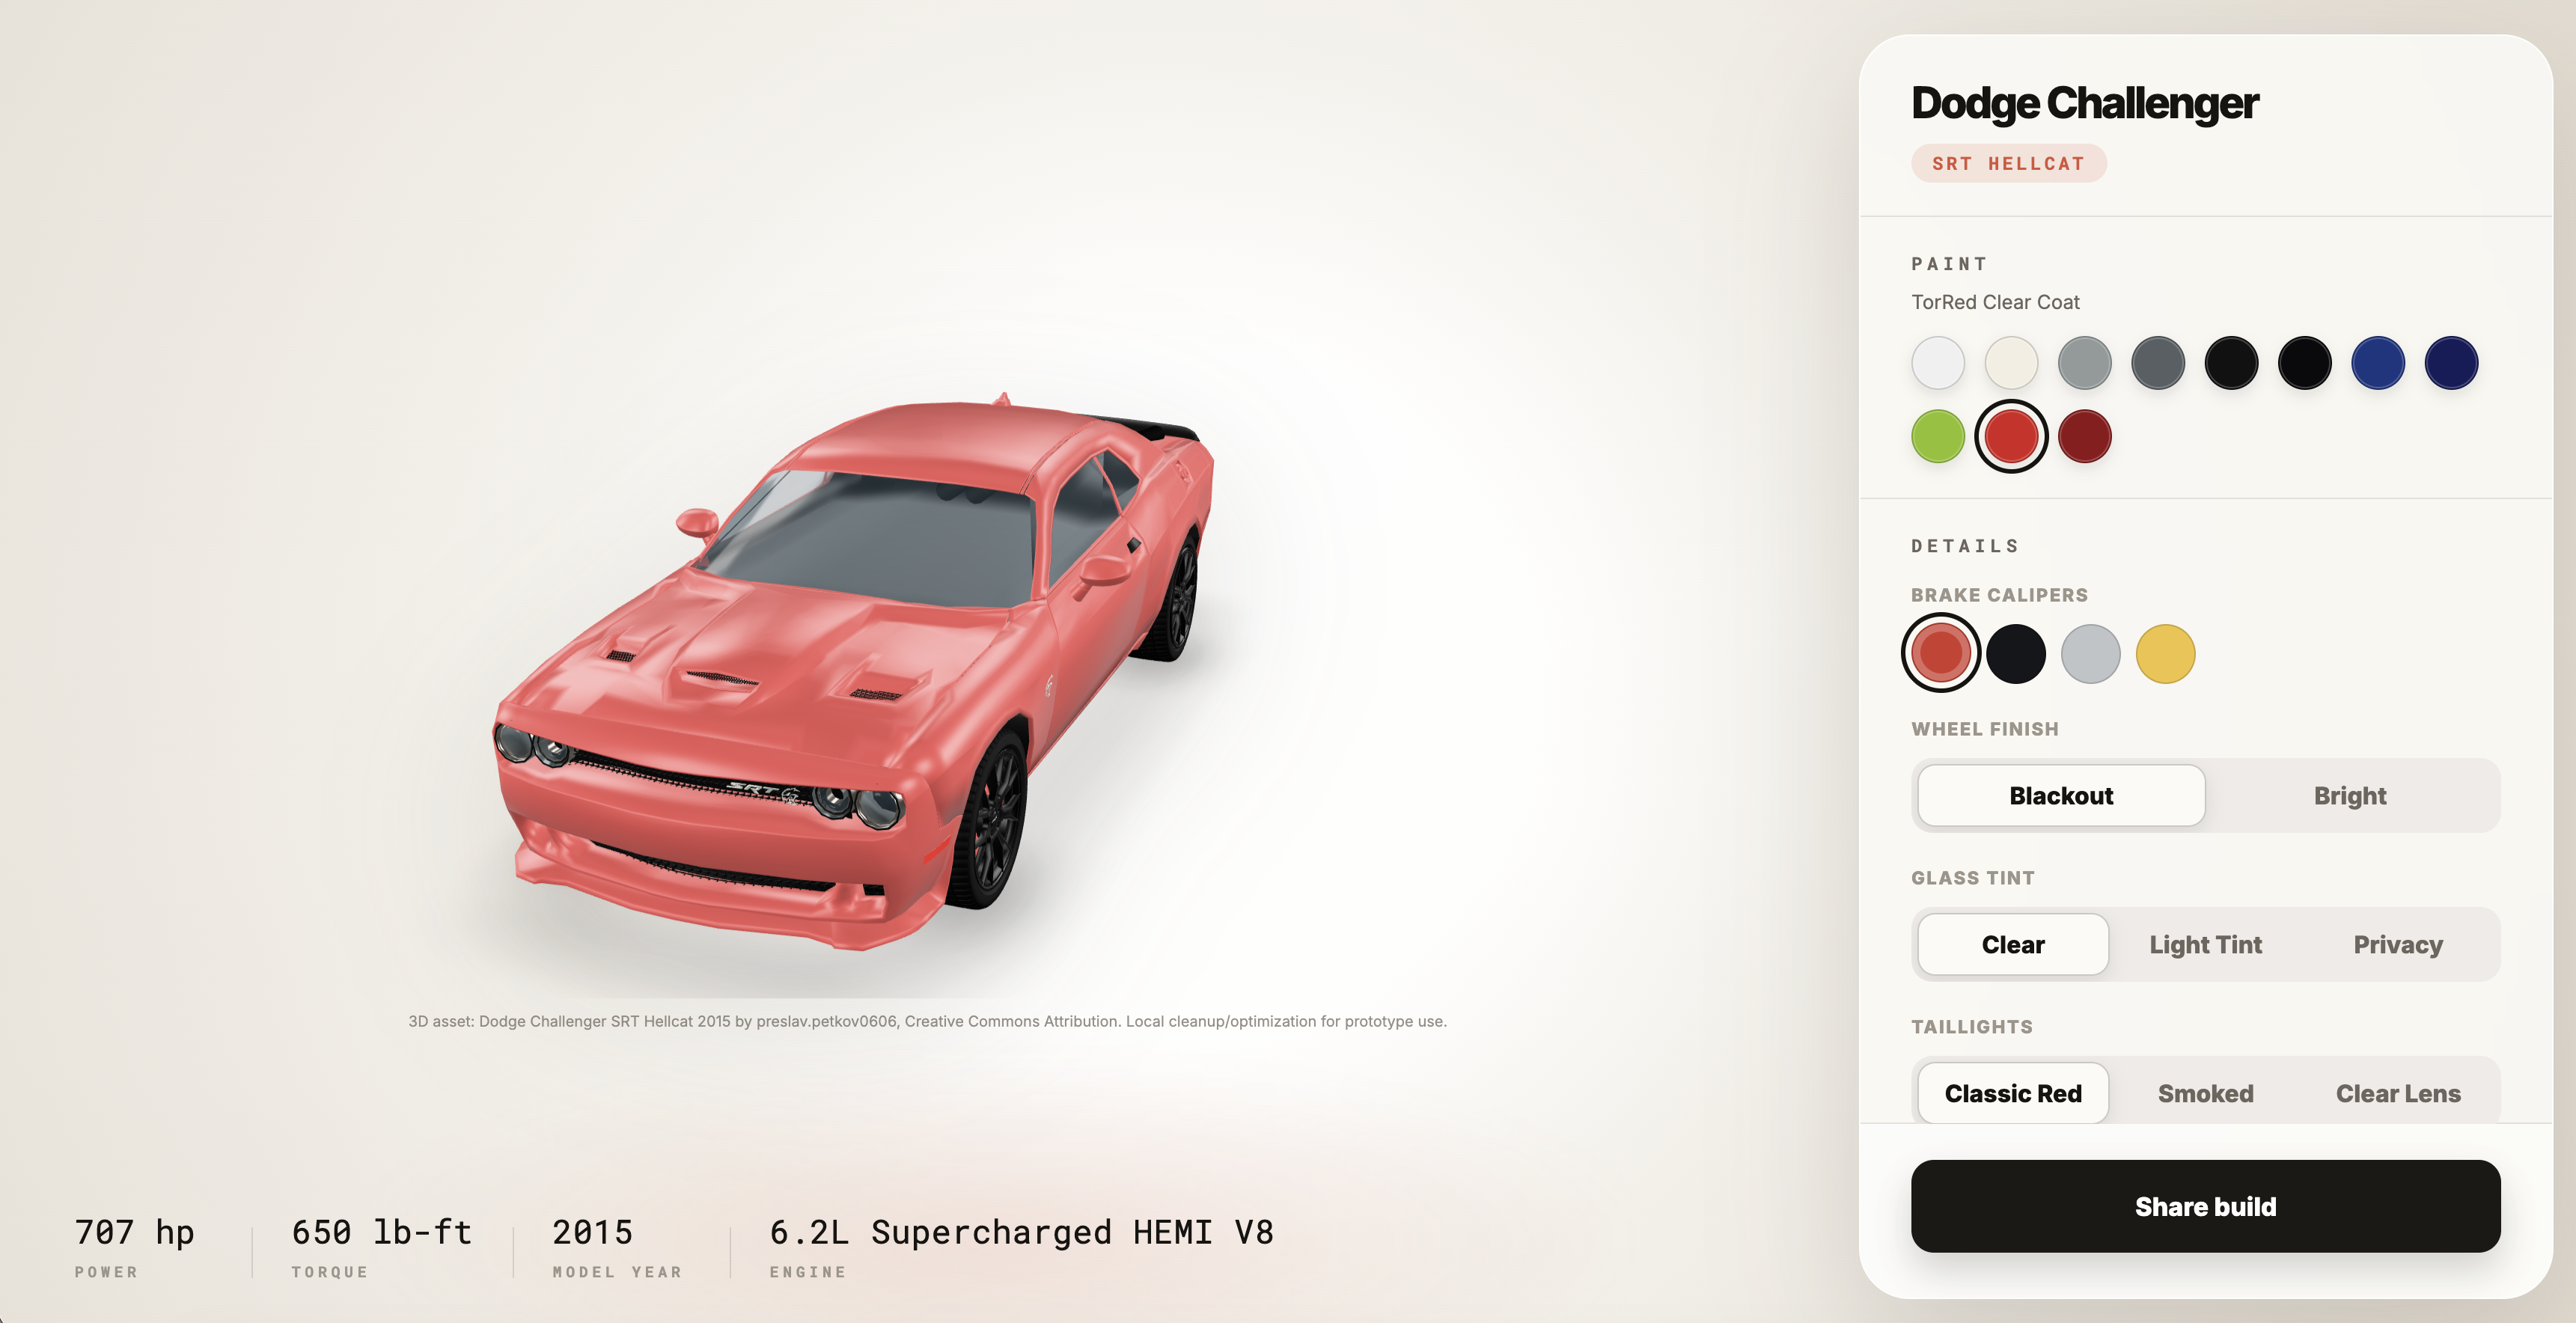
Then I wired it into the browser with <model-viewer> and real material controls. The configurator now supports body paint, wheel finish, brake calipers, glass tint, taillights, grille, spoiler visibility, and badge/logo visibility.
For a while, I tried adding stripe controls by generating prototype stripe geometry in Blender. It technically worked: the stripes were separate, they could be recolored, and they loaded in the browser. But they didn't look good enough: they looked like they were separate from the car. So I removed them from the shipped UI. That decision made me weirdly happy. It meant the project had standards.
This proof of concept is not a full factory-accurate Challenger configurator. It doesn't support every trim. It doesn't have perfect wheel swaps, hood variants, or accurate package geometry yet. But it works, and it's bringing me a lot of joy.
I shipped it to my personal website, in the "lab" folder where I ship all my experiments: https://www.coraliedelpha.fr/lab/dodge-challenger-configurator
Redesigning the interface
Once shipped, I looked into improving the design. The interface was functional, but not especially polished. The car was sitting inside a heavy frame, the configurator panel felt utilitarian, and the controls were very basic.
I decided to try Claude Design for the first time. I gave it the existing 3D configurator and asked it to redesign the interface so it would feel more premium and more polished, without touching the underlying 3D model.
Before generating anything, Claude Design asked me a series of multiple-choice questions to clarify the brief: should it recreate the 3D car or use a placeholder, should it prioritize desktop or mobile, what accent color should drive the UI, should it decide the layout and typography, and which extra features should be included.
One suggestion I liked was a “Share build” button. I had not thought about it.
A few minutes later, it came back with a brighter gallery-style studio, a softer configuration panel, and more polished controls.
This redesign phase took about 15 minutes. Then I spent another 15 minutes implementing the main ideas with Codex 5.5.
It's now live and looking really nice.
What's next?
I’d love to collaborate with a 3D artist to turn this prototype into a truly accurate, fully configurable Challenger model, with proper trim-specific parts and many more customization options.